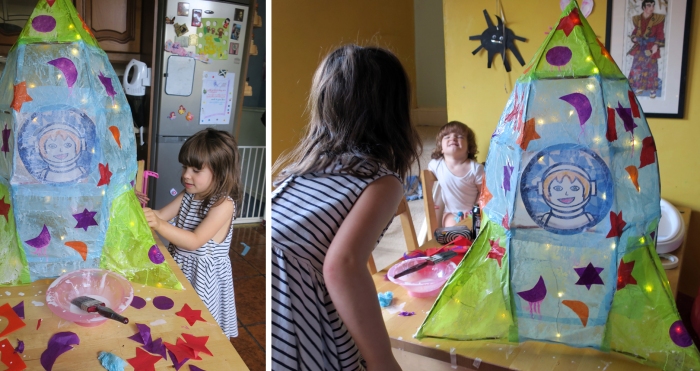
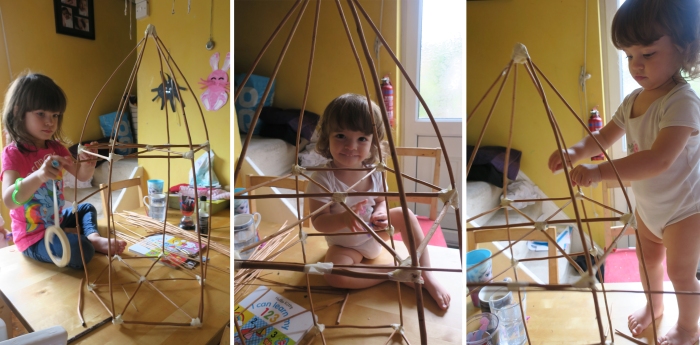
With our lantern frame looking good we moved on to the next step. I bought a string of battery powered fairy lights and wound them around the frame on the inside of the lantern, securing them at various points with masking tape.
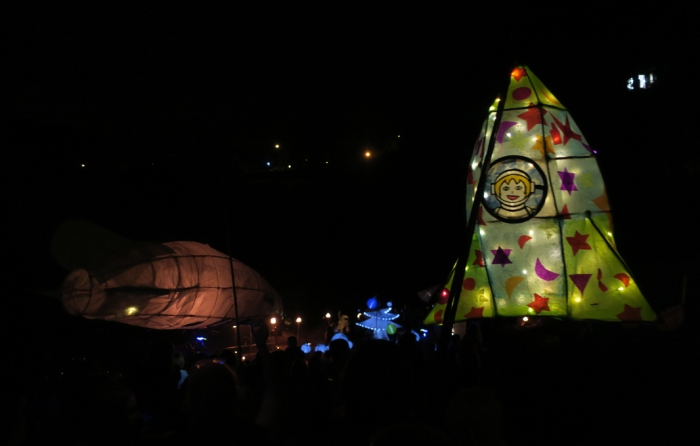
Next we made an astronaut cutout using the technique from Rainbow Macaw Suncatcher (it was tricky to cut such a fine outline, but worth it in the end). We then glued the decorated cutout to the outside of our willow frame and covered it with a piece of white tissue so the image would shine through. If I were doing this again, I think I would glue the decorated cutout to the outside of the lantern after it had been covered in tissue instead, so that the picture appeared more vivid – but either way will work.
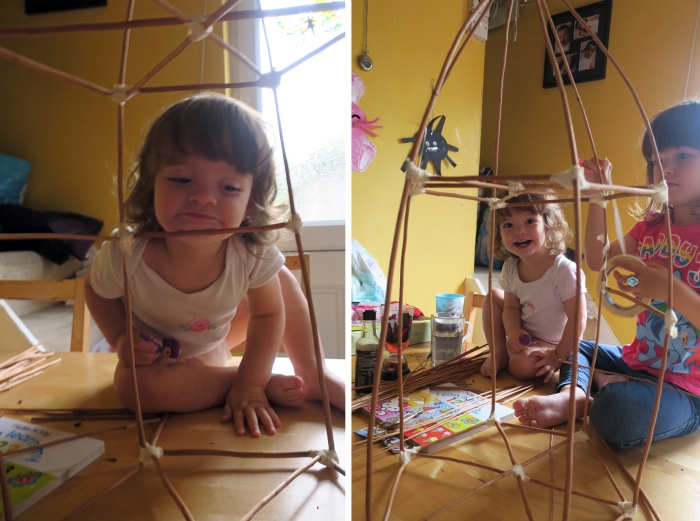
Before covering the lantern, I twisted some think wire around the top and made a loop so that the lantern could be hung from a hook and carried by it.
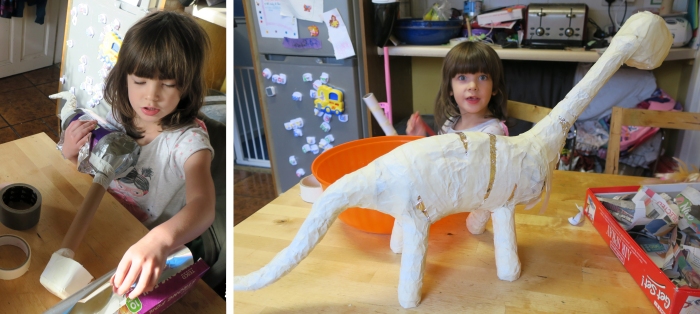
Everything was going so well, I didn’t anticipate any problems covering the lantern, and even thought my children would be able to help. I mixed equal parts of water and waterproof PVA glue, then cut some large sections of blue and green wet strength tissue paper. It may well have been “wet strength”, but it certainly wasn’t “preschool child and toddler strangth.” About 20 holes, twisted paper pieces and 2 glue-haired children later, I hurried the kids into the lounge and attempted to repair the situation myself with the last remaining pieces of tissue. I wish I had taken some pictures of our first attempt, but I was too busy with damage mitigation (and covered in glue myself) that I couldn’t risk taking out my camera! Anyway, the lantern is pictured after I had patched it up as best I could. I’m not entirely happy with it, but think it will look alright when it is lit and in the parade.
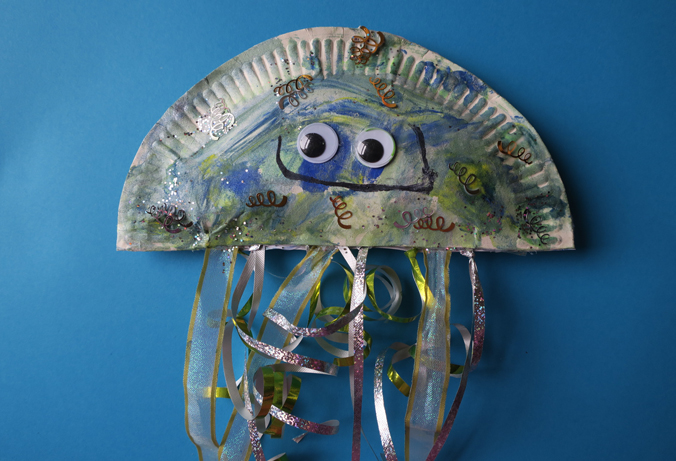
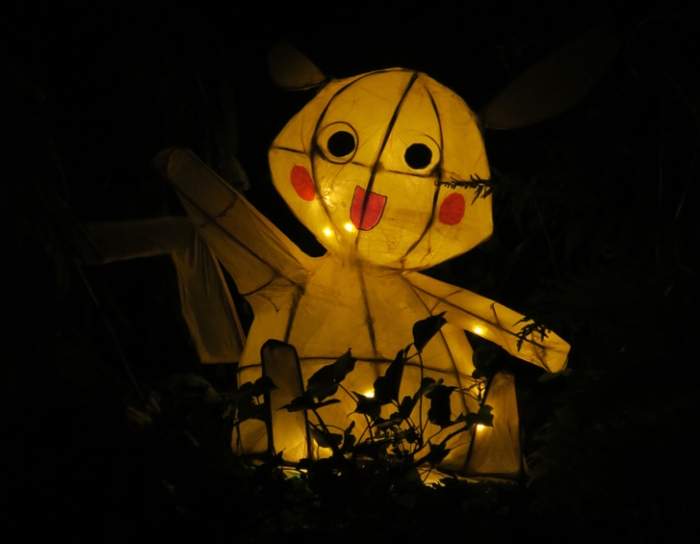
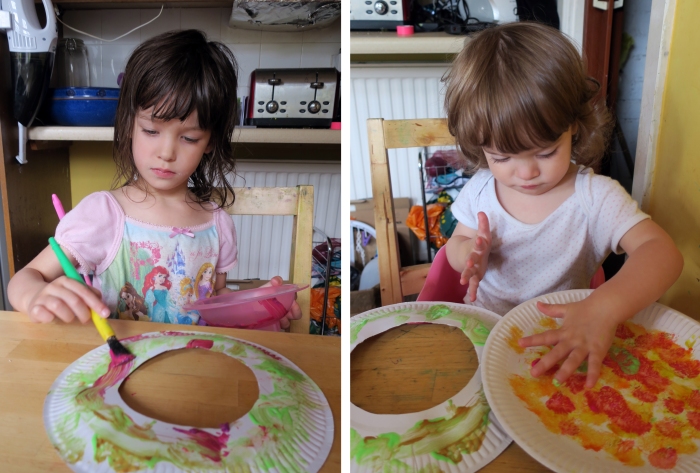
I cut out various shapes from coloured tissue paper and Amelia glued them on as well as cutting some of her own. We used regular tissue for some of the colours which was a bit of a mistake as the colours were not waterproof and bled when they made contact with the glue – but again I think it will look fine when it is illuminated at night time.

We hung the lantern up to dry, and as it dried the tissue began to shrink, which made it look a little neater and also feel stronger. Once it was completely dry, I cut a small hole in the bottom so that the switch for the fairy lights could be accessed, then covered this with a small rectangle of tissue paper (doubled over for strength and glued on one edge to form a hinge).
Now we’re looking forward to the parade – and hoping it will be a warm, dry day!


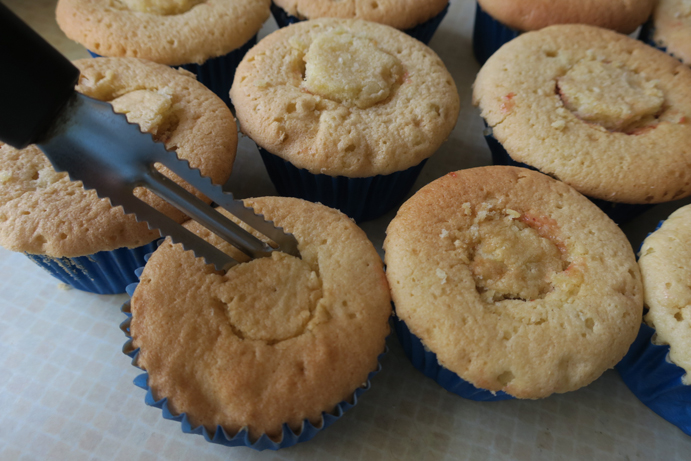 Once cool, cut out the middles (I found a traditional potato peeler was great for this), fill with jam (jelly) then put the middle back on as a “lid”.
 Ice your cupcakes, and add whatever tasty decorations take your fancy. (We used rainbow strips and sugar sprinkles, along with some My Little Pony figures we’d got from Kinder eggs.)
 Enjoy!